Choose who sees an incident
Choose Public or Internal for each incident, so your team can track a problem before sharing it with customers.
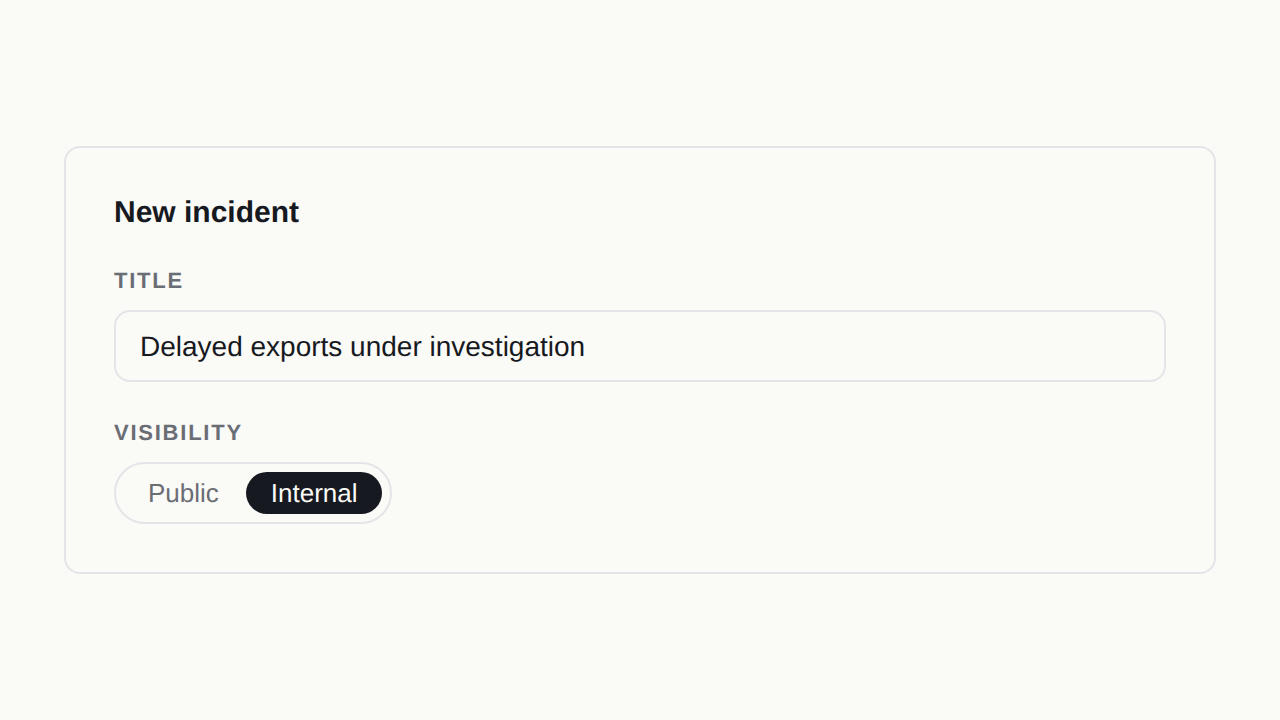
Illustration reconstructed from the app controls. Choose the audience before publishing.
Choose Public or Internal for each incident, so your team can track a problem before sharing it with customers.
Your support team sees reports of a delayed export. Someone needs to investigate, keep a record and give the next shift context. You do not yet know whether the problem needs a customer announcement.
Incidents now lets you choose the audience. Public incidents appear on your status page and can send subscriber emails. Internal incidents stay available to your team in Atender while remaining outside those customer channels.
Choose the audience for the situation
Use Public when customers need to know what is happening: a service outage, a confirmed disruption or planned maintenance that will affect them. Your status page gives them one place to follow progress.
Use Internal for an investigation that is still taking shape, a problem with a tool only your team uses, or maintenance with no customer impact. Your team can record updates and follow the incident through to resolution without publishing an announcement.
Internal incidents stay off the public status page, embedded status views and subscriber emails, including post-mortem emails. They do not change public component health. They are also excluded from the Agent Stack’s system-status lookup and automatic incident matching for customer conversations.
Create an incident with the right visibility
- Open Incidents and start a New incident.
- Enter a Title, then choose Public or Internal under Visibility.
- Set the Initial status, add affected components where relevant, and write an optional Initial update message.
- Check your visibility choice, then select Publish incident. With Internal selected, this creates the incident for your team.
The visibility choice also applies when you use Schedule for later to create planned maintenance.
Change visibility as the situation develops
Open an existing incident and use Visibility in the right-hand panel to switch between Public and Internal. The change saves immediately. The timeline records the previous and new visibility, who changed it, and when.
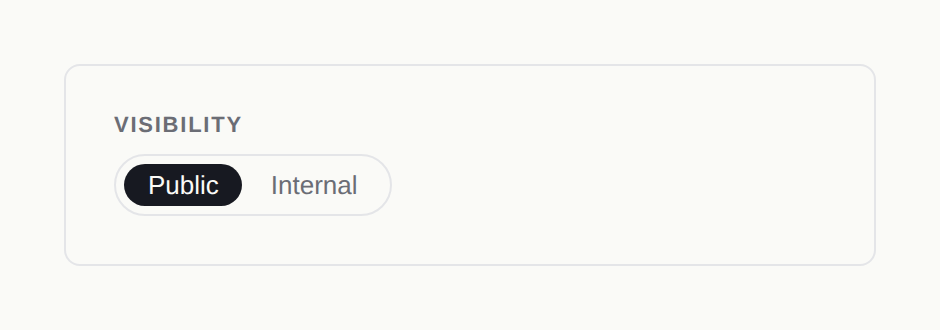
Review the existing updates before switching to Public. Visibility applies to the whole incident. Updates written while it was internal become part of its public history; the switch does not create a separate customer-safe summary.
Switching a public incident to Internal removes it from customer-facing incident views, but cannot recall emails already delivered or information customers have already read. Internal also means internal to your organization’s incident tools; it does not create a private group within your team.
Set the default for your team
Go to Settings → Incidents Settings, open General, and find New incident starts as. Choose Public, Internal or No pre-selection, then select Save Settings. No pre-selection requires a person to choose visibility before publishing in the app.
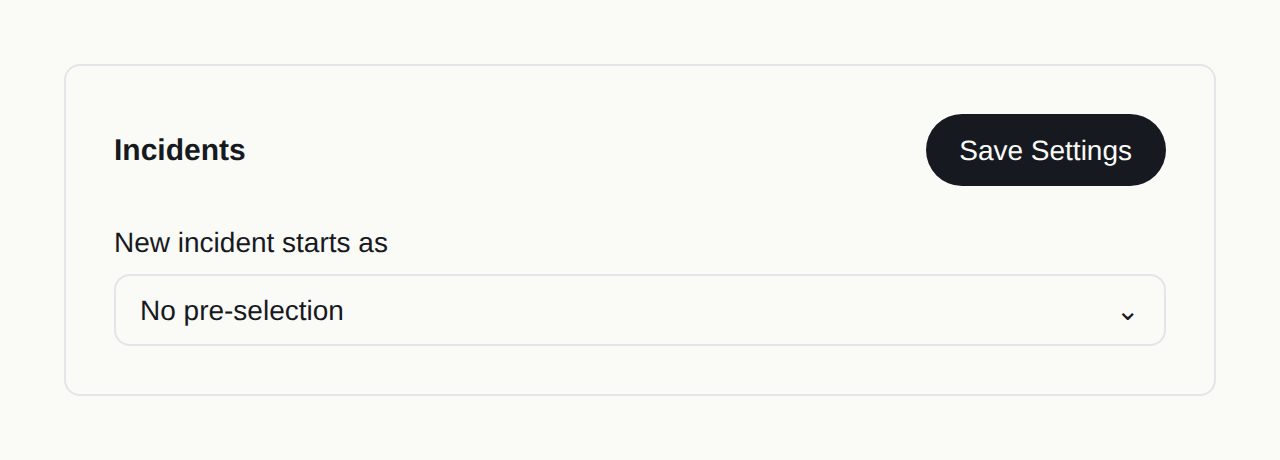
If your team usually investigates first, Internal is a useful default. If every incident needs a deliberate audience decision, use No pre-selection. Existing incidents keep their visibility.
The same Incidents module still holds the work and its timeline. Your status page is the customer view of the incidents you choose to make public.
Available in Incidents. Choose Visibility when you create an incident, or change it from the incident’s right-hand panel. Read more about Incidents and status pages.